


How to Use:
- File the nail surface gently , push cuticles back, trim dead cuticle and puff nails. Your nails must be clean and dry before application.
- Apply a very thin layer of base coat to all your nails and cure them under LED/UV lamp for 60 sec.
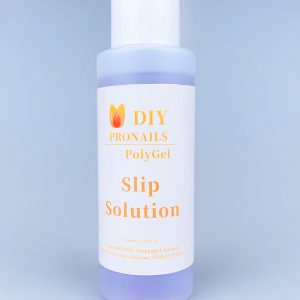
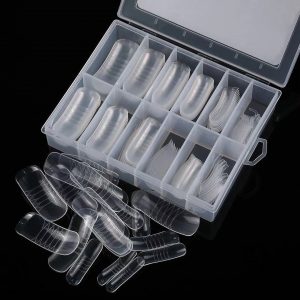
- Select a suitable size of Gel Mould Tip set, place a small amount of PolyGel on the nail mould, dip the Flat UV Builder Gel Brush or double Head Gel Brush into the Slip Solution, it is important to dab on paper tower or a cloth before shaping the gel on the tip.
- Make sure to make it a little thinner on the sides and thicker in the middle. Apply it at a 45 degree at the cuticle and press down gently and firmly.
- Dip your gel brush into the slip solution to brush off any excess gel, Cure it under your LED/UV lamp for 60 seconds. Pop the gel tip off and file your nail to the desired shape and length.
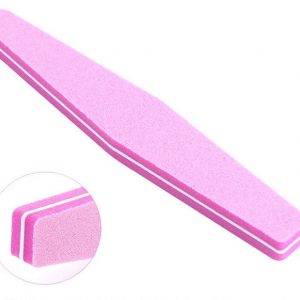
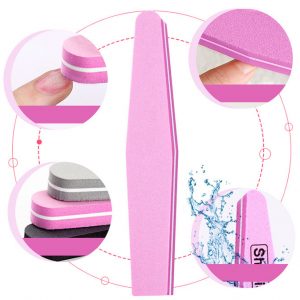
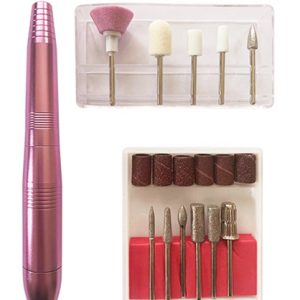
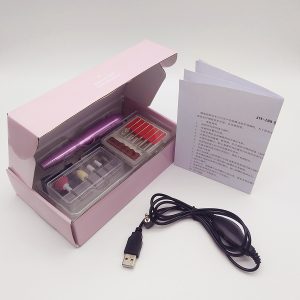
- Use nail Drill to smooth and shape the back of your nail extension if necessary.
- Repeat the process for all 10 nails. Remove the excess dust before applying the Top Coat to the nails. Cure the nails under LED/UV lamp for 60 sec.
- Gel nail polish can be applied over the PolyGel. Gently buffed extension, apply 2 coats of gel nail polish, cure for 60 secs between each coat, finish off with top coat and cure for 60 seconds.
How to Remove:
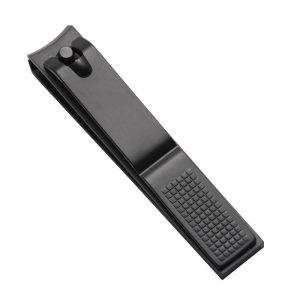
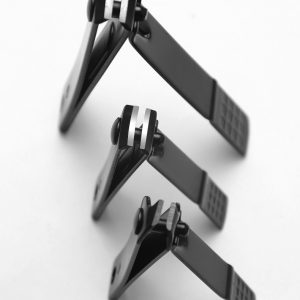
- Cut away any excess PolyGel by using a clipper.
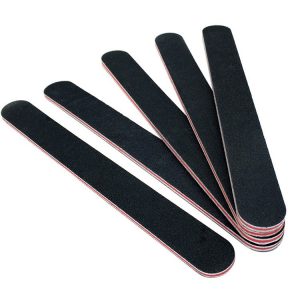
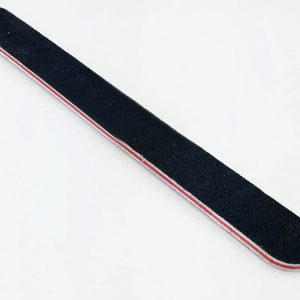
- File down the PolyGel by using a 100 grit or preferably an electrical file/drill, work carefully from the cuticle area of your PolyGel nail to the trimmed tip by applying a light amount of pressure. Set the drill at low speed when using the nail drill, be careful not to take off the top layers of natural nails.
- Stop filing once your PolyGel is reduced to a really thin layer, switch to a 180 grit file to gently buff off the remaining layers of PolyGel. Then use a 220/280 nail buffer lightly buff the entire nail. For electric file, sanding bands are available in a variety of grits, switch to a very fine grit with gentle pressure to prevent damage.
- Clean your hands and nails, apply hand lotion and rub the lotion into your fingernails and cuticles.


Reviews
There are no reviews yet.